Freitag, 3. August 2012

Watercolor Coloration Tutorial - Hair

Here comes part II of my Tutorial - this time hair coloration ^_^

2. Hair

First I have to say you can use watercolor pencils as well as watercolor cups. This version works for both ^_^
By the way, it also works with colored pencils, the technique is the same!

I worked with the watercolor cups on this one ...


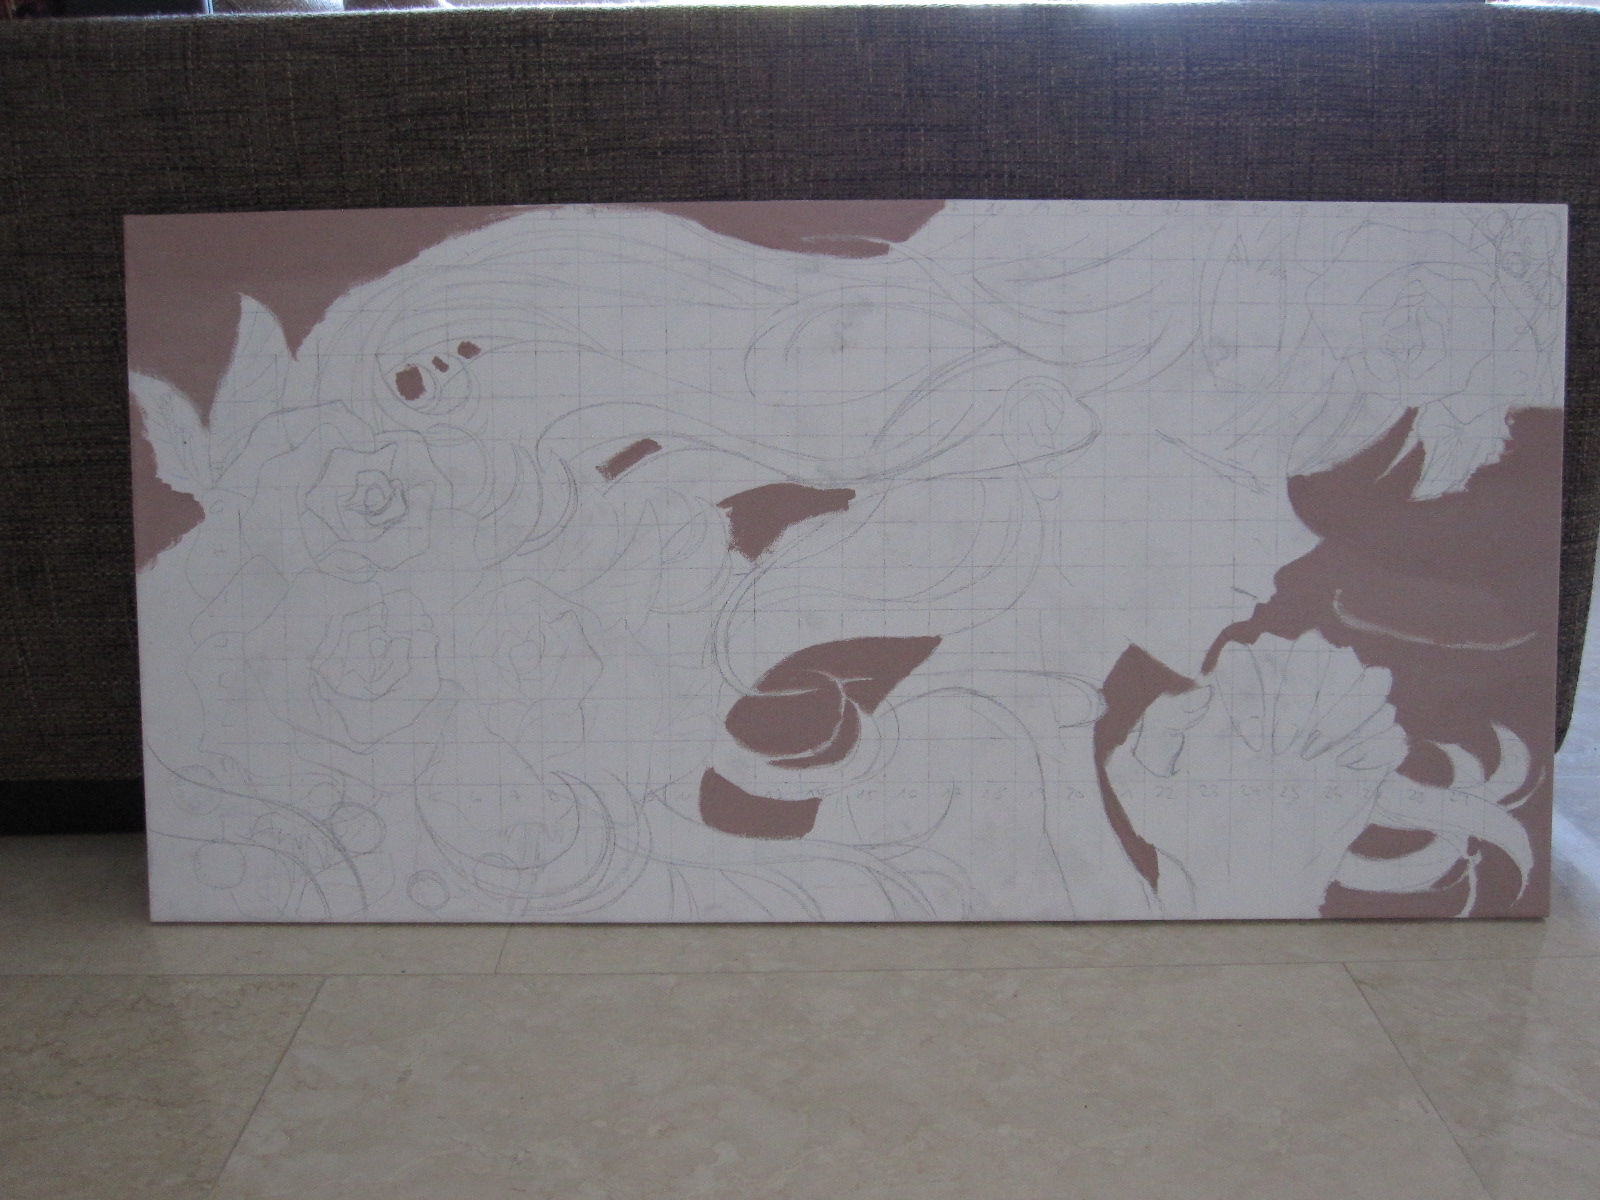
First I put a really light color layer on it with a really thin brush (z.B. a Marabu brush, size 2).
Keep in mind to hint different hair strands, meaning single lines, some bigger, some thinner. 
It doesn´t matter if some lines are lighter or darker than others. Real hair is also not always the same color, they look different, depending on the exposure to light.

I always start with the hair tips and work my way up, at least I do that with the hair near the face.

Next, we do that all again. 
With every step the color becomes darker.
This step can be repeated as often as you wish to.
Depending on how dark the color is chosen, it is possible you only have to use one color tone for everything, because you can variegate the tone by using more color to make it darker or use more water to make the color lighter. The effect will be the same as if you where to use different colors.
In this pic I only used one color tone.


The lighter or white areas will be the light reflections later on, the darker areas the shadows.
The more you draw over the hair, be it with more color or water, the more reflexes you can add to them, or, as I had stated in my Skin Tutorial, the more transition you can make.
This transition also looks really good on the hair, just try what looks best in your eyes and use it.
When I am finished with the pic, meaning when I colored everything, I add some intricacies to the effects. I put white highlights  with white pastel chalk on it, that give more brilliance to the hair. 
The pastel chalk doesn´t suit everything and it also only works really good on watercolor paper due to its rough surface.
It doesn´t look that good on normal paper.
Colored pastel chalk on the other hand looks much better on normal paper. It is much smoother and you won´t carve out the grain as much as on watercolor paper (personally I don´t like it, when the grain is seen too much, I prefer it somewhat "smooth"). 


Tutorial - Wie man Lines ohne abpausen überträgt


Tutorial - Wie man Lines ohne abpausen überträgt

Als erstes besorgen wir uns eine Kopie unseres Originals, sollte das aber nicht möglich sein, könnt ihr auch eine Klarsichtfolie hernehmen, um euer Bild nicht zu ruinieren.
Jetzt müssen wir überlegen, was wir tun wollten - einfach nur das Bild "kopieren" oder eine größere Version anfertigen, z.B. auf einer Leinwand (das ist es, was ich hier tun werde)?
Ihr müsste auch überlegen, wie groß der Abstand zwischen Hilfslinien bei euch sein soll. Je mehr Details, umso größer würde ich sie ziehen, um nachher kein Drucheinander zu erleben.
Auf dem Bild, das ihr hier seht habe ich einen Abstand von 1cm gewählt. Das Bild ist auf einem A4-Papier.
(Wenn ihr Probleme damit habt, parallele Linien zu ziehen, dann benutzt Karopapier und einen Leuchttisch als Unterlage)

Jetzt ist es ganz einfach. Zieht die Hilfslinien über das komplette Bild, so dass ihr hinterher schöne Karos habt.
Nachdem wir damit fertig sind, nummerieren wir die Karos durch. Es spielt keine Rille, ob ihr das Alphabet oder einafch nur Zahlen benutzt.
I bevorzuge für die langen Seiten Nummern, einfach auch, weil das Alphabet ja nur 26 Buchstaben hat und ich von vorn anfangen müsste, wenn die Karos diese Anzahl übersteigen.
Als nächstes müssen wir das Bild vermessen. Dasselbe tun wir dann auch mit der Leinwand, auf die wir das Bild schließlich übertragen wollen.
Rechnet das Verhältnis zwischen eurem Bild und der Leinwand aus, die ihr beuntzen wollt.
Das ist sehr wichtig, sonst wisst ihr ja nicht, wie groß ihr die Karos auf der Leinwand ziehen sollt.
In meinem Fall ist es 1:3, also ziehe ich meine Hilfslinien auf der Leinwand mit einem Abstand von 3cm.
Danach müsst ihr einfach nur noch die Lines fon eurem Papier auf die Leinwand übertragen.
Ich fang immer mit dem Gesicht an, also such ich mir ein entsprechendes Karo aus, z.B. ihre Nase und kopiere sie auf die Leinwand.
Am besten ist es, sich Punkte zu suchen, wo die Lines durch die Hilfslinien verlaufen. Best-Case: Eine Linie, die durch 4 Karos verläuft, sprich die Spitzen dieser Karos durchläuft. Das kommt leider nicht so häufig vor, hilft aber ungemein um zu prüfen, ob noch alles korrekt verläuft. 

Ich hab diese Technik früher sehr oft benutzt. Sie ist sehr hilfreich, vor allem, um ein Gefühl für Proportionen zu bekommen. Macht z.B. eine Kopie von einer Mangaseite oder was auch immer, macht die Hilfslinien drauf und kopiert das Bild Schritt für Schritt wie oben beschrieben. Es hilft wirklich!

Tutorial - How to transfer lines without tracing

Tutorial - How to transfer lines without tracing

First, we start with a copy of our original or if you don´t have a copy, use a transparent sheet on top to not ruin your work.
Now think about what you wanna do - simply "copy" the picture or do you wanna make it bigger, like on a big canvas (what I will do here)?
Also, depending on the details and the size of your work or any other you wanna "copy", you will have to choose the gap between your reference lines.
The pic you see here is on a A4 sheet. I choose to use the gap between the lines to be 1cm.
(If you´re not good with making parallel lines, use a light desk and a sheet of squared paper)
Now it´s a simple matter of drawing these reference lines/squares on the whole pic.
 After we finished, we number the squares consecutively. If doesn´t matter if you choose the alphabet or numbers.
I prefer to use numbers for the long side, because the alphabet only has 26 characters and I would have to start anew with them if my squares are more in number.

Next step would be to measure the size of our pic. After that measure the size of the canvas or on whatever you wanna copy it.
Think about the ratio between your pic and the canvas/whatever you use.
This is essential to know. Without it you won´t know how big you will have to make the reference lines on your canvas.

In my case it is 1:3, so I am going to make the reference lines on my canvas with a gap of 3cm.

After that you only have to copy the lines from your paper on the canvas.
I always start with the face, so I chose a square, the one with her nose for example, and copy it on the canvas.
It is best to choose some points, such as lines that run through the reference squares. Best case: A line that is in the middle of 4 squares. Won´t happen that often, but are really helpful, expecially to check if you´re still on the right way.

I used that technique quite often in the past. It is also really helpful to get a feeling for body proportions. Make a copy of a manga page or whatever, put the reference lines on it and copy it step by step to better your skills. It really helps!